The best herbs for growing indoors on a budget are robust varieties that easily grow from seed or cuttings, requiring minimal special equipment. The top budget-friendly herbs to plant indoors are Basil, Mint, Parsley, Chives, and Thyme. These adaptable herbs grow well in small containers, tolerate common low light conditions, and can flourish successfully on a kitchen windowsill or under low-cost LED grow lights, making them perfect for beginning and urban gardeners.
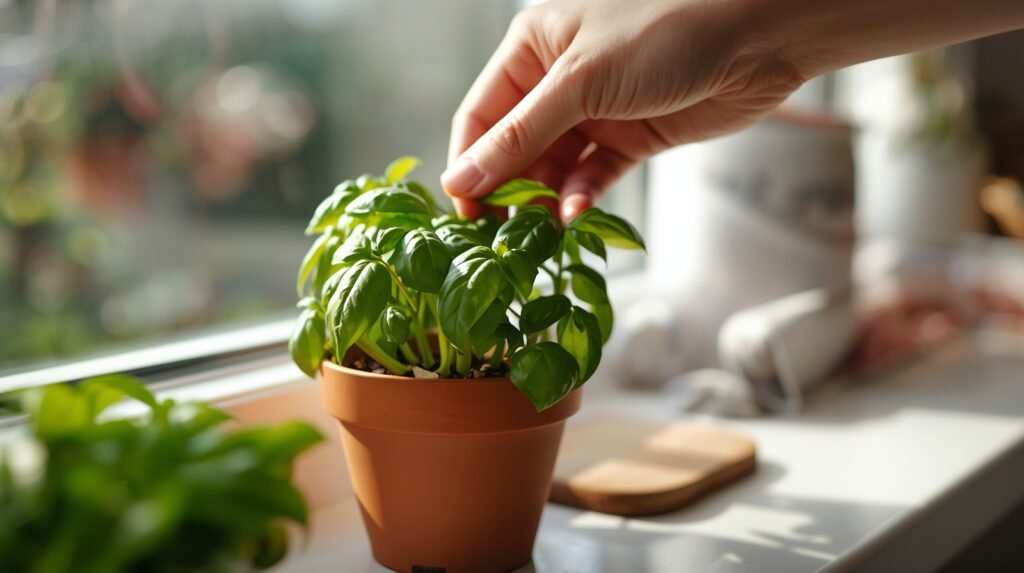
Seriously, imagine the scene: You’re cooking dinner, and instead of digging through a jar of dusty, dried seasoning, you just step over to your window and snip a handful of fresh basil or bright mint.
No more last-minute, panicked dashes to the grocery store. No more looking at those sad, wilted clamshells of herbs that taste like water. You get that punch of vibrant, authentic flavor right now!
Harvesting Fresh Basil Your Best Herbs for Growing Indoors
The Real Perks of Growing Herbs Indoors
Growing herbs at home isn’t just about having a pretty plant; it’s one of the easiest, most rewarding gardening projects you can start:
You Save Cash: A packet of seeds costs a couple of dollars and gives you endless herbs. That’s way cheaper than buying small bunches at the store every week.
Zero Food Miles: Harvest fresh flavor seconds before you need it.
Flavor is Everything: The taste of a homegrown herb is miles better than anything pre-packaged. It’s the difference between eating flavorless paper and biting into something truly alive.
It Feels Good: There’s a genuine sense of accomplishment and calm that comes from tending to a little green life in your kitchen.
Pest Protection: Indoor herbs are less exposed to common garden pests and diseases.
In this simple guide, I’ll walk you through the easiest herbs to grow indoors, show you exactly how to keep them healthy, and share the straightforward tips you need to start—you don’t need any special, expensive gear.
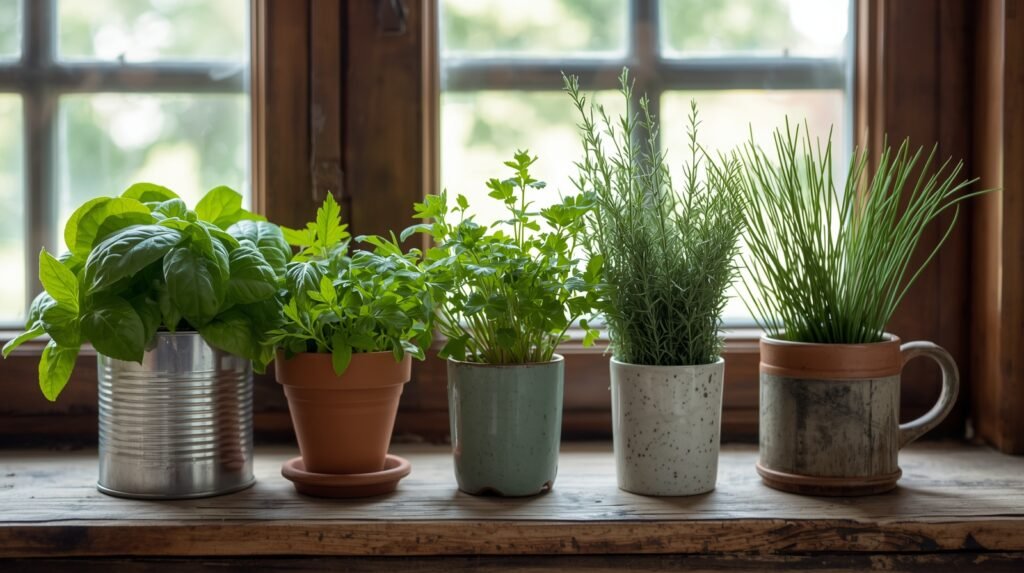
A Budget-Friendly Collection of the Best Herbs for Growing Indoors
What is Indoor Herb Gardening?
It’s all about bringing the garden inside! Indoor herb gardening is simply growing herbs right in pots or little containers in your own home instead of outside. It’s a fantastic solution for people in apartments, those dealing with chilly weather, or honestly, anyone who just wants super-easy access to fresh flavors for cooking and a nice cup of tea. Seriously, all you need are a couple of pots, some dirt, and a sunny spot, and you can get a little kitchen garden going—even if you’re watching your budget closely!
The Best Herbs for Growing Indoors on a Budget: Top 7 Picks
Okay, if you want your little garden to flourish without emptying your wallet, you need to pick your herbs wisely. We’re looking for varieties that are tough, adaptable, and basically forgive you for forgetting to water them sometimes! These are the Top 7 Champions that truly flourish in a regular home environment:
Herb
Why It’s Budget-Friendly
Light Needs (Typical Home)
Top Beginner Feature
Basil
Grows quickly from cheap seeds; cuttings root easily in water.
Bright, South-facing window or grow light.
Highly productive and fast-growing.
Mint
Can be grown from cuttings; thrives in small pots.
East or West window. Tolerates less light.
Extremely vigorous and hard to kill.
Chives
Comes back reliably; a single bulb lasts for years.
Bright light (East/South).
Needs little maintenance; just snip and go.
Oregano
Very drought-tolerant; doesn’t need much water.
Bright, sunny spot is best.
Tough perennial that handles neglect.
Thyme
Minimal watering required; slow and steady grower.
Needs 4+ hours of direct sun.
Low-profile and perfect for shallow containers.
Parsley
Grows well from seed; tolerates partial shade.
East-facing window.
Can tolerate cooler indoor temperatures.
Rosemary
Grow from cuttings; very resilient once established.
The most light you can give it (South).
Long-lived and highly aromatic.
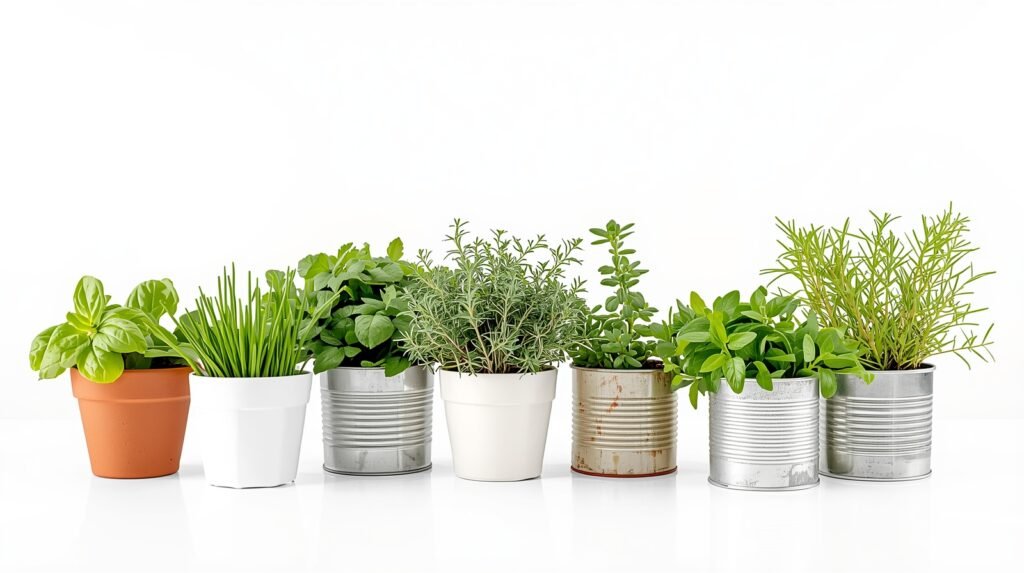
Top 7 Best Herbs for Growing Indoors on a Budget
Step-by-Step Guide: How to Start Your Herb Garden Cheaply
The secret to a successful, budget-friendly indoor herb garden is to start simple and use what you already have.
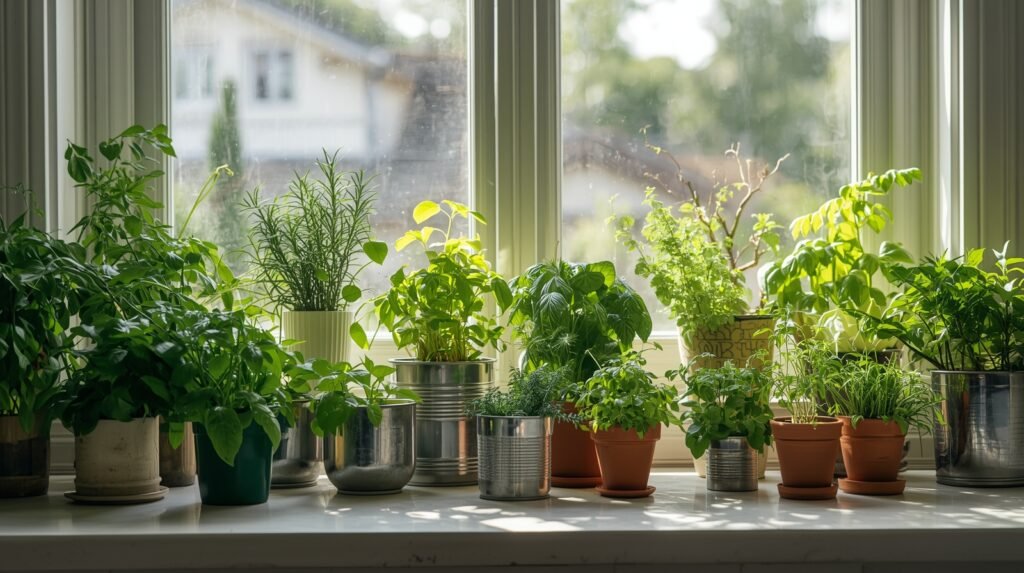
1. The Budget Container Hack
You can completely skip those expensive ceramic pots. Instead, use items you’d normally throw away:
Upcycled Cans: Thoroughly clean large soup or vegetable cans and punch 3–4 drainage holes in the bottom.
Plastic Tubs: Old yogurt, sour cream, or cottage cheese containers work perfectly. Just drill or melt a few holes in the base.
Thrift Store Finds: Look for cheap ceramic mugs or bowls that can be drilled for drainage.
Important: Every single container must have drainage holes. Root rot is the number one killer of indoor herbs!
2. Simple Soil and Seed Sourcing
Soil: Buy a small bag of quality potting mix. Look for brands with perlite or other additives for good drainage. Never use outdoor garden soil, which can compact and introduce pests.
Seeds: Search for bulk seed packets from local farm stores or reputable U.S. sellers. Basil, chives, and parsley seeds are excellent, cheap ways to start.
3. Watering and Placement
Once you’ve planted your seeds, placement is crucial. You want to maximize the natural light without having to buy expensive grow lights (yet!).
Placement: Put your herbs near your brightest window. In the U.S., this is usually a south-facing window. If you live in a perpetually cloudy region (like the Pacific Northwest), consider supplementing with a simple, budget-friendly LED shop light (not a specialty grow light) positioned about 6 inches above the plants.
Watering: Only water when the top inch of soil feels dry to the touch. Overwatering is the most common beginner mistake. Let those drainage holes earn their keep!
Soil, Sun, and Watering Needs by Herb Type
To really feel like an expert and keep your plants thriving, you need to know what they like to drink and how much sun they can handle. Here’s a simple breakdown of what each group needs:
Herb Type
Sunlight Minimum
Ideal Watering Strategy
Best Soil Drainage
Lush Greens (Basil, Mint, Parsley)
At least 6 hours of direct sun (South or East window).
They’re thirsty! Keep that soil consistently moist, but never let it get swampy or soggy.
Standard potting mix with quality drainage is perfect.
Woody Herbs (Rosemary, Thyme, Oregano)
A full 8 hours of direct sun (a South-facing window is essential here).
Treat them like succulents: Let the soil get completely dry before you water them again.
They love sandy soil. Add extra perlite or grit to your mix for fast drainage.
Onion/Garlic (Chives)
At least 6 hours of direct sun (South or East window).
Just water them when the top inch of soil feels dry. They’re pretty easygoing.
Standard potting mix works fine.
Getting Started: Your Super Simple Guide to Growing Herbs Indoors
1. Pick Your Pots (Without Breaking the Bank)
Look, you absolutely don’t need to splurge on expensive planters. Be practical! Just use what you already have. Old coffee mugs, jam jars, tin cans, or even simple, cheap terracotta pots will work perfectly.
There’s only one non-negotiable rule: they must have drainage holes. Herbs are extremely dramatic about soggy feet—that’s the fastest way to kill them!
Pro Tip: Start small, maybe with a 4-6 inch pot. If your plant turns into a monster, you can always upgrade its home later. And seriously, painting your pots or wrapping them in twine is a fun, easy way to make your garden look cute.
2. Choose the Right Dirt
Indoor herbs are picky. Resist the urge to just scoop up some garden dirt; it’s too heavy, compacts easily, and you could introduce outdoor pests inside.
Your best options are light and airy:
A good quality, fluffy potting mix is always a winner.
Coco peat (shredded coconut fiber) is fantastic because it holds moisture without getting waterlogged.
If you’re growing those woody herbs like rosemary or thyme, mix in a little extra sand or perlite (the white Styrofoam-looking bits) to keep their soil drier and well-aerated.
3. Find a Sunny Spot
Sunlight is food for herbs! They need a lot of it to grow strong and develop great flavor.
Windowsills: Your best bet is always a south-facing window, but don’t discount east or west-facing ones.
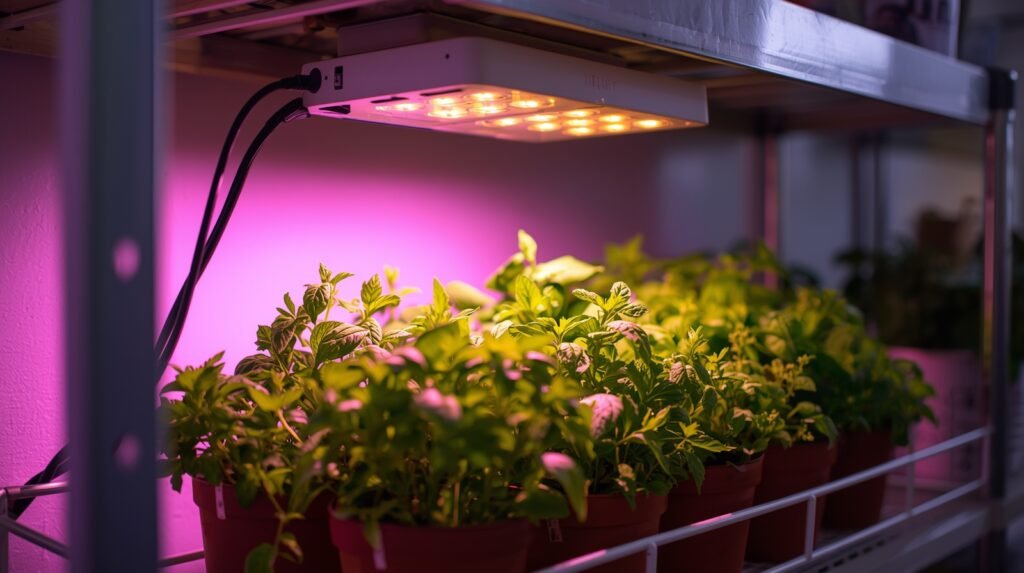
Low-Light Homes: No big deal! A simple, cheap LED grow light can solve all your problems. Just give them about 12–16 hours of artificial light daily.
Rotation Matters: Turn those pots every few days! This ensures every side gets a fair shot at the sun, keeping your plant from leaning over and becoming lopsided.
4. Water Smart, Not Too Much
We’re going to repeat this: overwatering is the silent killer. You want the soil to feel “slightly moist,” not swimming.
The Finger Check: Stick your finger an inch into the soil. If it feels dry down there, it’s time to water.
Temperature: Use room-temperature water. Pouring ice-cold water on them can shock the roots.
The Golden Rule: Water slowly and thoroughly until the water pours out the drainage holes, then immediately dump the saucer water.
Herb Hack: Remember that group: Rosemary, Thyme, and Oregano are from the dry, sunny Mediterranean—they like their soil to dry out almost completely. Basil, Mint, and Parsley like it a bit more consistently moist.
5. Feed Them Occasionally
Since they’re stuck in a pot, your herbs will eventually use up all the nutrients in the soil. Give them a boost!
A little bit of organic liquid fertilizer every 2–3 weeks works perfectly.
You can also use simple, natural boosters like used coffee grounds or crushed eggshells.
Don’t overdo it! Too much fertilizer is just as bad as too little—it can burn the roots or make your leaves huge but weak.
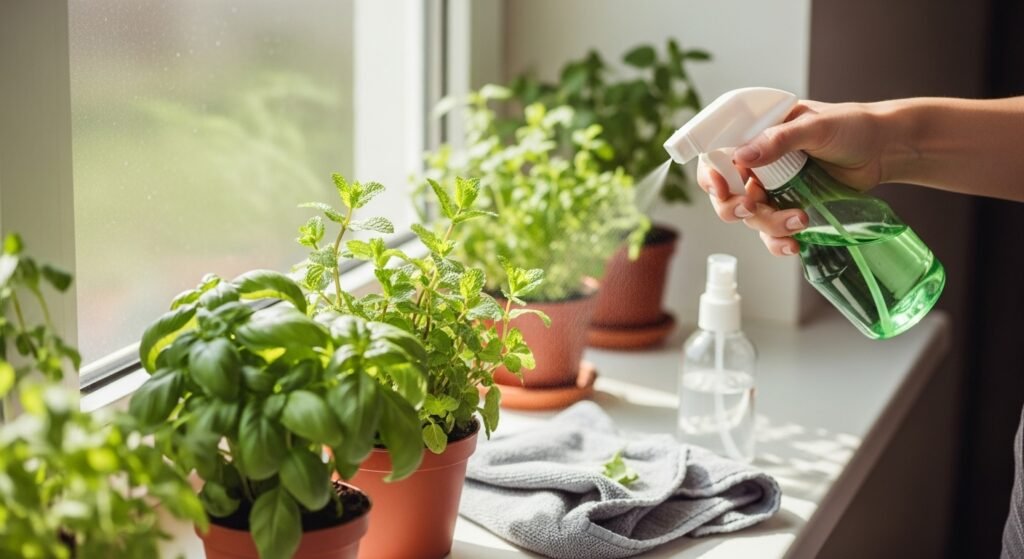
Extra Tip: Your herbs also love “foliar feeding.” Mix a super diluted fertilizer solution and just mist it directly onto the leaves once in a while!
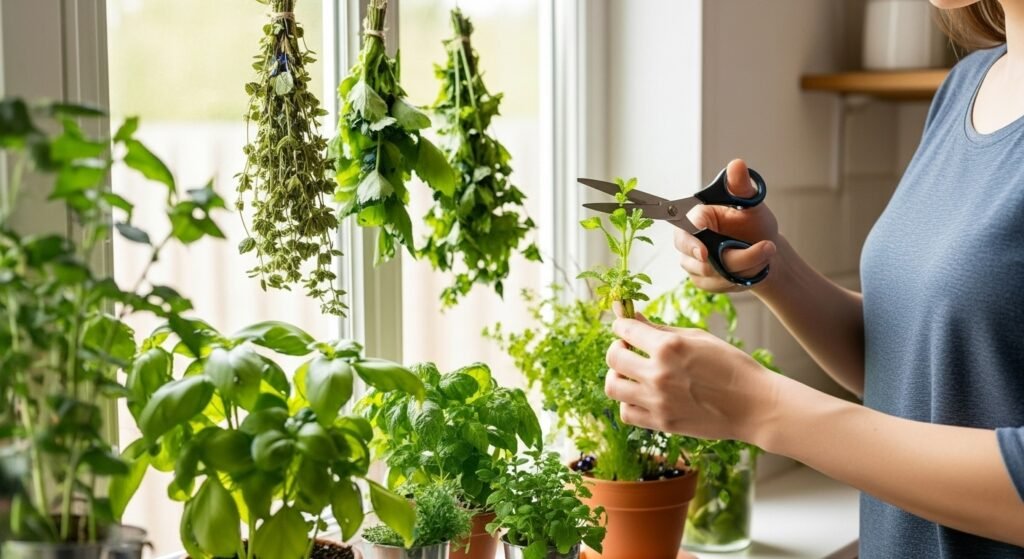
6. Harvest Like a Pro
This is where you get to reap the rewards! Cutting your herbs actually signals to the plant, “Hey, grow more!” which makes them thicker, bushier, and healthier.
Always use clean scissors or shears.
Make your cut just above a leaf node (that’s the point where a leaf joins the stem). This tells the plant exactly where to sprout two new branches.
Harvesting stops your herbs from flowering (or “bolting”) too soon, which is important because flowering often makes the leaves taste bitter.
Wait until your plant is nice and established (6–8 inches tall) before your first big harvest.
Bonus: If you have too much, don’t waste it! You can dry extra leaves in a cool, dark spot or freeze them in ice cube trays with a little water or olive oil.
How to Choose the Perfect Herbs for Your Indoor Garden
Starting an indoor herb garden is seriously fun, but it’s totally normal to feel overwhelmed by all the options. The trick is to stop thinking about a “garden” and start thinking about your kitchen and your lifestyle.
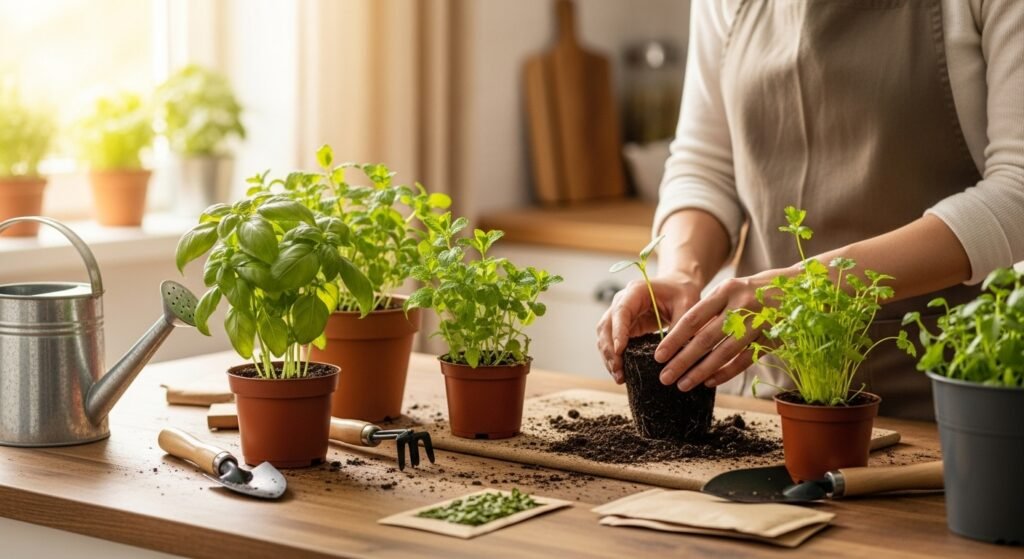
Planting Seedlings of the Best Herbs for Growing Indoors
1. Start with the “Un-Killable” Herbs
If you’re a beginner, go for plants that don’t throw a fit if you forget about them for a day. You want early wins!
Mint: Honestly, this stuff basically wants to grow. Give it a sunny spot and water it regularly—it’ll practically grow out of the pot. (Just a warning: keep mint in its own pot, or it will try to take over the world.)
Basil: The king of indoor herbs. It grows fast, loves a lot of sun, and is perfect if you’re a fan of fresh pesto or Italian food. Harvesting it often actually encourages it to grow bushier.
Parsley: Super tough and forgiving. It’s pretty happy even if you’re a little inconsistent with watering. A reliable workhorse for your kitchen.
Starting with these easy growers is a huge confidence booster and makes gardening a fun hobby, not a frustrating chore.
2. Match the Herb to Your Light (Window Check)
Herbs need light to grow strong and flavorful. Your window determines which plants will be happiest!
South-facing windows get the most intense, full-day sun. These are best for the sun-worshippers like Rosemary, Thyme, and Oregano (the Mediterranean crew).
East or west windows get a few hours of good light—perfect for Parsley, Cilantro, and Chives.
North-facing windows offer the lowest light, which is fine for Mint or leafy greens. If you have low light, seriously consider an inexpensive LED grow light—it’s a game-changer!
Quick Note: Keep your pots away from extreme temperature swings, like right next to a radiator or an AC vent. Most herbs are happiest at cozy room temp, about 65–75°F (18–24°C).
3. Skip the Stress: Go for Seedlings
While growing from seed is fun, it takes serious patience. For quick gratification and less stress:
Buy small seedlings from a garden center. They’ve already done the hard part, and you get to start harvesting much sooner!
Once you’re feeling confident, then you can try seeds for more variety.
Seedlings are the beginner’s secret weapon for an instant garden boost.
4. Grow What You Actually Eat
This is the most practical advice: Only grow what you know you’ll use! Don’t clutter your space with something you’ll use once a year.
Ask yourself:
What do I buy most often at the grocery store?
Your Favorite Meals
Your Herb Starter Pack
Italian/Pizza
Basil, Oregano, Rosemary
Soups/Garnishes
Parsley, Chives
Asian/Mexican
Cilantro (be warned, it tends to “bolt” or flower quickly)
Teas/Cocktails
Mint, Lemon Balm
Stop Doing That! Common Mistakes That Kill Indoor Herbs
It’s so rewarding when you get to snip fresh herbs for dinner—but a couple of basic slip-ups can turn that joy into disappointment. Don’t worry, the fixes are simple! Here are the most frequent mistakes beginner gardeners make and how to avoid them.
1. Drowning Your Plants (Overwatering)
This is the number one killer. It’s easy to get anxious and give your plants a drink every day, especially if the topsoil looks dry, but too much water is fatal.
Why it matters: Roots need air to “breathe.” When the soil is perpetually soaked, the roots suffocate, leading to nasty root rot that you usually can’t come back from.1
The Fix: Use the “finger test.” Stick your index finger about an inch deep into the soil. If it feels dry, then water. If it still feels moist, leave it alone. Also, always ensure your pots have drainage holes and dump any excess water that collects in the saucer after 15 minutes.
Simple Trick: Pick up the pot. If it feels surprisingly light, it’s thirsty. If it’s heavy, it’s fine.
2. Using the Wrong Dirt (Garden Soil)
Resist the urge to just scoop up dirt from outside. Garden soil is a death sentence for potted indoor herbs.
Why it matters: Soil from your yard is heavy and dense. It compacts easily, which suffocates roots and causes poor drainage (see Overwatering, above). Plus, it might introduce outdoor pests into your home.
The Fix: Always use a light, fluffy potting mix made for containers. You can also use coco peat (coconut coir). These mixes are designed to keep air flowing to the roots and let water drain out easily.
3. Starving Them of Light
Herbs are sun-lovers. If they don’t get enough light, they won’t taste good, and they’ll look sad.
Why it matters: When herbs search for light, they grow tall and thin—we call this “leggy.” Leggy herbs are weak, spindly, and have very little flavor.
The Fix: Place your pots in the sunniest spot you have, ideally a south- or east-facing window that gets 4–6 hours of direct sun daily. If your home is dark, stop trying to fight nature and invest in a small, cheap LED grow light. They work wonders and guarantee results.
4. Being Too Gentle (Not Harvesting)
It feels wrong to cut the beautiful leaves you worked so hard to grow, but that hesitation is counterproductive. Not trimming your herbs is a mistake!
Why it matters: Herbs like basil and mint need regular cuts to encourage them to branch out sideways. If you don’t cut the tips, they just shoot straight up, becoming tall, sparse, and weak.
The Fix: Treat every single leaf-snip as a pruning session. Regularly cut off the top 1–2 inches of the growing stems, right above a leaf set. This forces the plant to create two new branches, making it rounder, bushier, and more productive.
Keeping Them Safe: Pest and Disease Prevention for Indoor Herbs
Even though they’re inside, your herbs aren’t completely immune to trouble. A few simple, non-toxic habits are all it takes to keep your plants healthy and thriving. Prevention is always easier than trying to cure a major problem!
1. Your Natural Defender: Neem Oil
Neem oil is your best friend. It’s a totally natural, safe way to protect your herbs from common houseplant pests like aphids, whiteflies, and spider mites.
How it Works: It’s fantastic because it disrupts the pests’ ability to reproduce without harming your plants—or you!
How to Use It: Mix a few drops of pure neem oil with water and a tiny squirt of mild dish soap (this helps the oil mix with the water). Spray your herbs thoroughly once a month.
Pro Tip: Never spray neem oil when the sun is directly hitting the leaves. Do it early in the morning or late in the afternoon to prevent the leaves from getting scorched.
Pest and Disease Prevention Tips for the Best Herbs for Growing Indoors
2. The Weekly Wellness Check
You can catch almost any problem early just by giving your plants a quick inspection. Make it a habit to check the leaves often—especially the undersides, where pests love to hide.
What to Look For: Tiny green or black dots (aphids), small white fuzz (whiteflies), fine cobwebs (spider mites), or a general sticky residue (a sign of pests feeding).
Why It Matters: Spotting a few bugs is a quick fix. Waiting until you have a major infestation is a headache.
3. Keep the Air Moving
Good air circulation is seriously important for indoor herbs. When pots are jammed together, the air gets stagnant and humid, which is basically an open invitation for pests and fungal diseases.
The Fix: Give your pots a little personal space. Keep them slightly separated so the air can flow freely around the foliage.
Bonus: This is another reason why you should rotate your pots. It helps all the leaves get sun and prevents damp spots that can lead to mildew.
4. Give Them a Gentle Wipe Down
Indoor dust and tiny airborne pests can accumulate on leaves, clogging the “pores” and making it harder for the plant to absorb light.
How to Clean: Once a week, grab a damp cloth or a soft sponge and gently wipe the leaves clean.
Extra Care: If you have herbs with very delicate foliage (like dill or cilantro), just give them a quick, light rinse with lukewarm water instead of rubbing.
Harvest and Maintain the Best Herbs for Growing Indoors
You’ve grown them well, now it’s time to enjoy them! Taking care of your herbs while you harvest is the secret to getting more leaves, better flavor, and plants that last longer.
1. The Golden Rule: Cut High, Not Low
When you’re ready to snip, always trim the top part of the stem, not the lower leaves.
Why? This is the key to creating a bushy, full plant! By cutting just above a pair of leaves (called a node), you signal to the plant: “Okay, grow two new branches here!”
How: Use your fingers to pinch or use shears to make a clean cut an inch or two down from the tip. Never cut the main stem down at the base—that will stunt the plant or even kill it.
2. Keep Your Tools Tidy
Think of your herb garden like a small surgery. Dirty tools can easily spread fungus or disease from one plant to the next.
Tip: Always wipe your scissors or shears with a quick swipe of rubbing alcohol before you start and once you finish.
Smooth Cuts: Make sure your blades are sharp! A smooth, precise cut helps the plant heal faster. Avoid crushing the stems when you snip.
Harvesting and Maintaining the Best Herbs for Growing Indoors
3. Preserving Your Bounty (Drying Herbs)
If you have a monster harvest and can’t use it all fresh, drying is a perfect way to save that flavor.
How to Do It:
Gather small, manageable bundles.
Tie the stems together tightly with kitchen twine.
Hang them upside down in a dark, well-ventilated spot.
Why It Works: Hanging them upside down prevents the leaves from wilting flat, and keeping them in the dark preserves their vibrant color and essential oils (which is where the flavor lives!).
4. Know When to Say Goodbye (Replacing Short-Lived Herbs)
Some herbs, like basil and cilantro, are sprinters, not marathon runners. They are programmed to grow quickly, produce seeds, and die.
The Cycle: These herbs simply won’t stay productive forever. If they start looking woody or producing flowers, they’re done.
Pro Tip: Plan to replace these faster-growing herbs every few months. Use those older, flowering plants to make a big batch of pesto or sauce before tossing them—that way, nothing goes to waste!
Budget Tools and Supplies for Your Herb Garden
You absolutely don’t need a huge budget to grow great herbs. The secret is focusing on a few key basics and being smart about where you spend your money. Here’s your guide to getting set up affordably:
1. Affordable Lighting (If You Need It)
If your windows aren’t giving you that 6 hours of sun your herbs crave, a grow light is a necessary investment, but it doesn’t have to be expensive.
Go-To Budget Option: Look for LED clip lamps. They’re incredibly inexpensive, sip energy, and the clip makes them easy to position exactly where the plants need light.
Where to Buy: Check Amazon, Walmart, or the lighting section of any hardware store.
What to Look For: Don’t get caught up in complicated terms. Just look for lights labeled “full spectrum.” They mimic natural sunlight, which is perfect for growth.
Affordable LED Grow Light for the Best Herbs for Growing Indoors
2. The Right Dirt (Potting Mix)
Good soil is the foundation of a healthy plant, and you should never skimp here—but you can still keep it affordable!
Easy Pre-Made: You can grab a small bag of a recognizable brand like Miracle-Gro Indoor Potting Mix. It’s lightweight and drains well right out of the bag.
DIY Option: Get creative! Mix your own using equal parts of compost, coco peat (coconut fiber), and perlite. This ensures fantastic drainage and aeration, keeping the roots happy.
Crucial Tip: Just say NO to garden soil. It’s too heavy for pots and will compact, leading to drowned roots every time.
3. Food for Thought (Fertilizer)
Your herbs need food every now and then, but expensive liquid fertilizers aren’t required.
Budget Boosters:
Organic seaweed extract is a fantastic, non-toxic option that strengthens the plants and helps them fight off pests.
Use homemade compost tea. Just soak a handful of compost in a gallon of water for a few days—it’s free, natural liquid food!
When to Feed: Give your herbs a light feeding every 2–4 weeks during their active growing season (spring and summer).
4. Pots and Containers
Don’t spend money here! Get resourceful.
Free & Cheap Options: Check your dollar store, use old jam jars, mugs, or tin cans you already have.
The Single Rule: Every single container must have drainage holes. If it doesn’t, drill one or don’t use it. Waterlogging is the easiest way to fail.
Personalize It: Grab some cheap paint or twine to decorate those recycled containers. It makes the garden your own without spending a dime on fancy ceramics.
What are the easiest herbs to grow indoors for beginners?
If you’re just starting out, stick with the low-fuss, high-reward plants. Your best bets are Basil, Mint, Parsley, and Chives. They handle indoor life well, grow quickly, and don’t make a big scene if you forget them for a day. Starting with these guarantees you’ll get fresh herbs for your kitchen right away!
Can I grow herbs indoors without sunlight?
Absolutely, yes! If your apartment or kitchen is naturally dark, LED grow lights are a fantastic substitute. They provide the full spectrum of light your herbs need. Just ensure your plants are getting about 4–6 hours of light from the sun or a lamp daily, and they will thrive.
How long do indoor herbs last?
The longevity of your indoor herbs is determined by their type. Annual herbs like Basil and Cilantro are short-lived, typically producing well for only 3–4 months before they flower and need replacing. Perennial herbs such as Mint, Thyme, and Rosemary are far more durable and can last for years with proper care. Regardless of the type, regular trimming is crucial for both to encourage new growth and maintain productivity.
What’s the cheapest way to start growing herbs indoors?
To start an indoor herb garden on a minimal budget, focus on getting resourceful. Skip expensive pots by using recycled mugs, jars, or small containers, but always ensure they have a drainage hole. Buy only a small bag of general-purpose potting mix or mix your own affordable soil. Start small by purchasing just a few seed packets or one or two seedlings. Remember, the most important elements—good light and proper watering—are essentially free.
How can I keep indoor herbs alive in winter?
Successfully getting your herbs through winter requires just a few easy adjustments. Maximize light by moving plants to your sunniest window, or use an LED grow light if daylight hours are short. Since growth slows in cooler temperatures, drastically reduce watering to prevent root rot, only watering when the soil is dry. Finally, counter the dry indoor heat by adding humidity—misting the leaves or placing pots on a pebble tray filled with water works well.
Conclusion:
Forget thinking you need tons of money or complicated gear to grow fresh herbs! All you really need is a little sunlight, some water, and a bit of attention, and even absolute beginners will have thriving plants. Kick things off with the easy favorites like basil, mint, and parsley, and you’ll instantly get hooked on the pleasure of cutting fresh leaves right into your dinner.
But it’s more than just cooking, right? Indoor herb gardening is about inviting a little bit of nature into your space, enjoying that calming pop of green, and letting fresh, beautiful aromas fill your kitchen. Start small today—you’ll be amazed how fast your home fills up with homegrown, vibrant flavor!
")
3 Comments
Pingback: 20 Best Air Purifying Plants for a Healthier, Beautiful Home
Pingback: Raised Bed Garden – Avoid 5 Expensive Mistakes During Setup
Pingback: How Often to Water Indoor Plants (Complete Beginner’s Guide)