")
A raised bed garden can fail if the beds are too shallow, the aisles are too narrow, or crops with different harvest times are mixed in one bed. Beds should be 18–24 inches deep, aisles at least 36 inches wide, and plants grouped by similar maturity dates. Adding PVC hoops and drip irrigation makes maintenance easier and improves yield.
Introduction
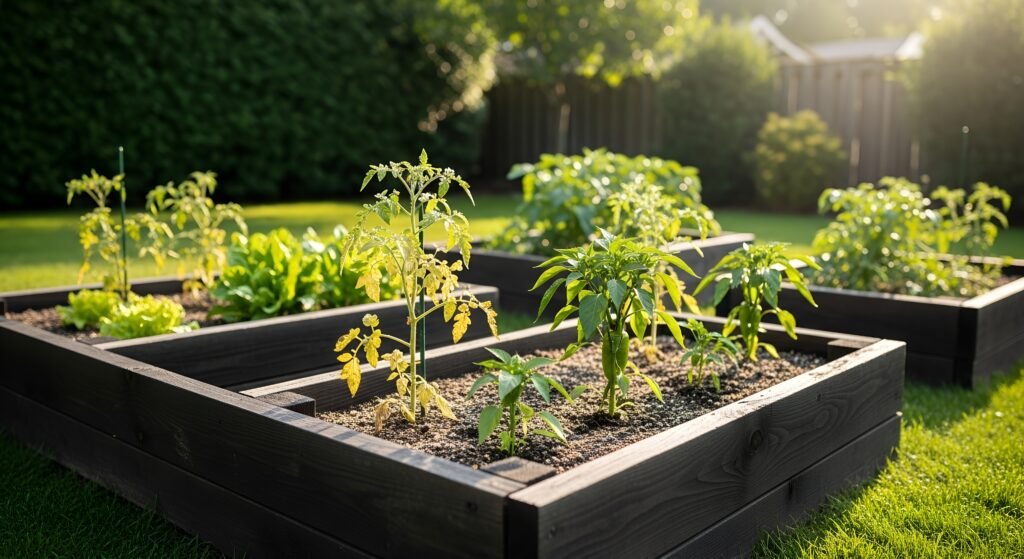
Building a raised bed garden is one of the best ways to grow vegetables at home. But even with careful planning, many gardeners discover problems years later — and correcting those mistakes can become expensive, time-consuming, and frustrating.
After seven years of gardening, I’ve learned a few hard lessons that are not obvious to beginners. These mistakes reduced plant growth, increased work, and even ruined harvests. Today, I’m sharing them so you don’t have to deal with the same headaches.
Let’s get into the three biggest raised bed garden mistakes — and how to fix them the right way from day one.
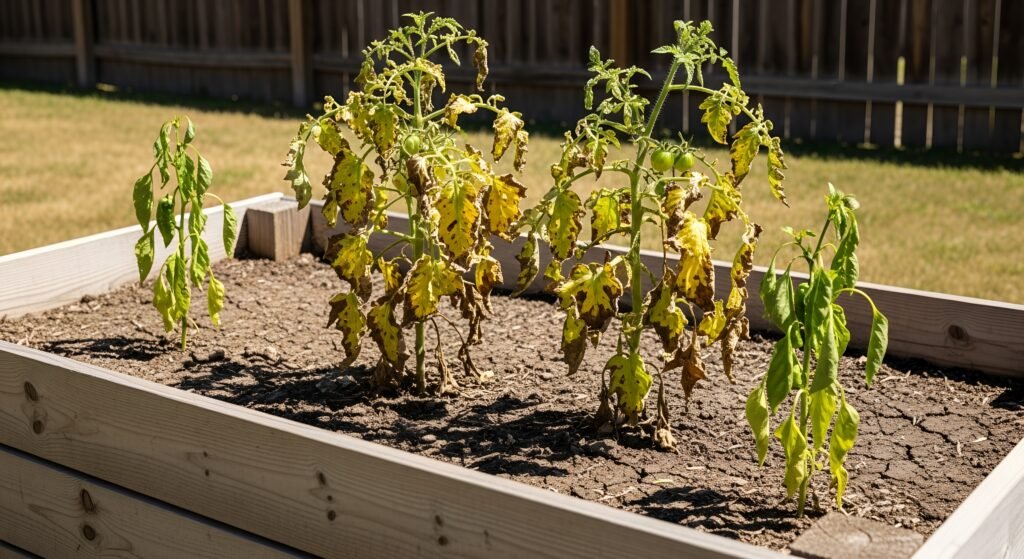
1. Making Your Raised Garden Beds Too Shallow
This is the #1 mistake that hurts garden performance the most.
When I built my first raised beds, I used 2×8 lumber because it was cheap and I was on a tight budget. After adding mulch, that left only 6 inches of actual growing depth. At first, everything looked fine — until my plants grew to full size.
Why shallow beds are a problem:
- Not enough soil to hold nutrients
- Roots dry out faster and get stressed
- Mature plants need more depth and nutrients than shallow beds can provide
- Roots can reach native soil and pick up pests like root-knot nematodes
Even though raised beds solve common issues like drainage, soil control, and erosion, they can’t perform well if the soil volume is too small.
The fix:
I eventually double-stacked all my raised beds to create 18-inch depth, and the difference was huge:
- Stronger plants
- Bigger root systems
- Fewer nutrient problems
- Protection from nematodes when using a weed barrier below
Ideal raised bed depth:
| Garden Depth | Pros | Cons |
|---|---|---|
| 12 inches | Works for herbs and greens | May still be shallow for tomatoes, peppers, squash |
| 18–24 inches (best balance) | Great root depth, good drainage, strong nutrient bank | Costs slightly more |
| 32–36 inches | No bending, wheelchair friendly | Too tall for crops like indeterminate tomatoes |
Best tip: Build fewer beds, but build them deeper. You can always add more later as budget allows.
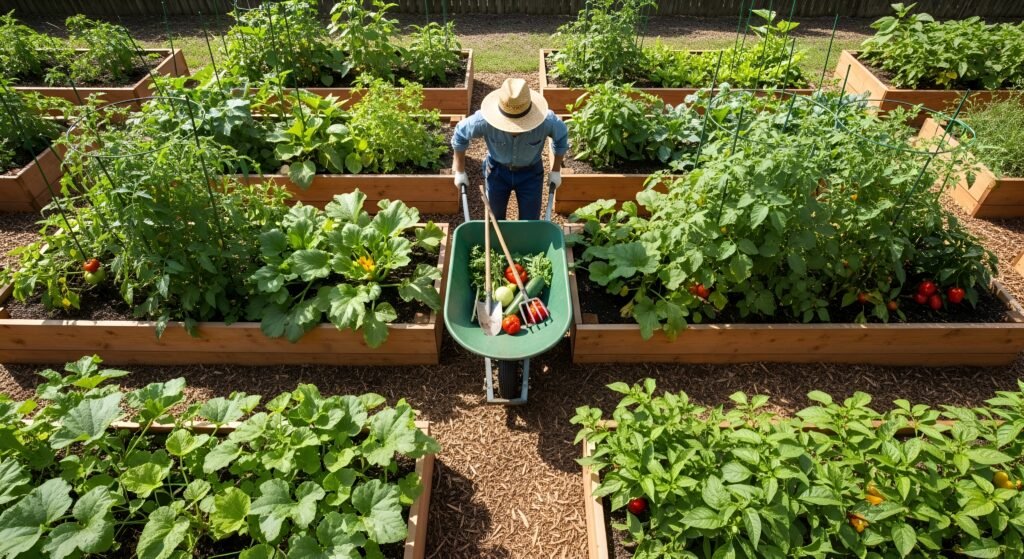
2. Leaving Narrow Aisles Between Beds
When spacing my beds, I measured my lawn mower — 25 inches wide — so I left 26-inch aisles. The plan was to mow between the beds to keep the garden neat.
Sounds smart, right?
but it’s Wrong.
Why narrow aisles don’t work:
- I eventually switched to weed barrier and stopped mowing
- My garden carts, wheelbarrows, and dump carts didn’t fit through
- I couldn’t turn or move equipment
- Beds are locked permanently — you can’t re-space them once full of soil
To fix this, I would have to:
- Remove all soil
- Move every bed
- Rebuild the entire layout
- Suspend gardening for months
In other words — impossible.
Ideal aisle spacing:
- Minimum: 36 inches
- Better: 40–48 inches
- Wide enough for carts, wagons, or wheelbarrows
- Easy to move, turn, and load soil
A smaller, easy-to-use garden will outperform a big, cramped garden every time.
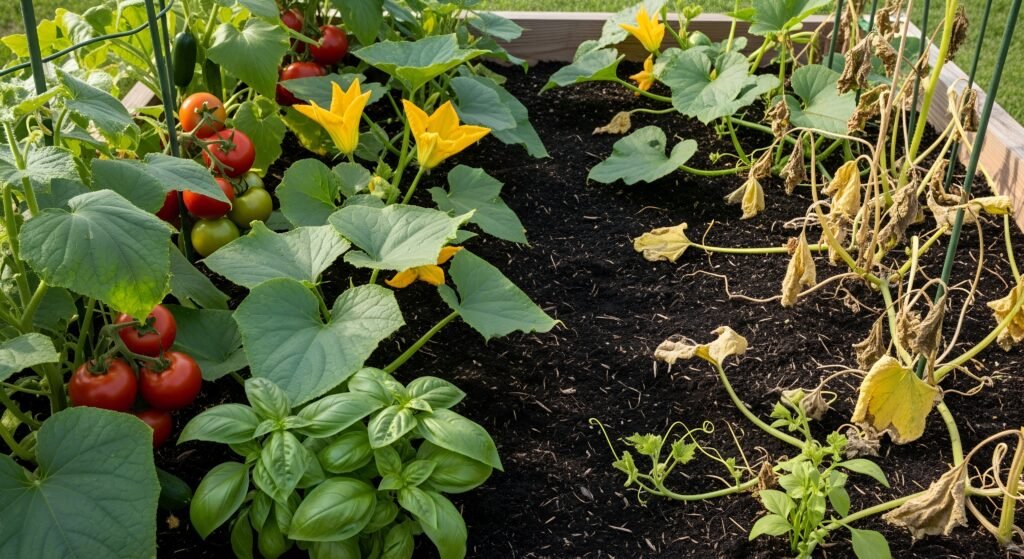
3. Interplanting Crops With Different Maturity Dates
The trend of “polyculture” (mixing many species in one bed) is often overstated in a backyard context. My entire garden is already a polyculture with different crops in adjacent beds. Mixing incompatible plants in a single bed led to huge inefficiencies.
The problem arises when mixed crops have vastly different harvest windows.
- Example: Planting tomatoes, squash, cucumbers, and basil together. The squash and initial cucumbers died, leaving a giant tomato and basil plant. Now, 50% of the bed is open space that cannot be effectively used until the long-growing tomato is done.
- Example 2: Mixing fast-maturing broccoli (harvest in December) with slow-growing cabbage (harvest in February/March) and biennial kale (grows all the way until summer). This creates a situation where you can never efficiently turn over the bed, resulting in wasted space throughout the year.
The Fix: Match Harvest Timelines
Try to plant a raised bed garden with crops that all finish their lifecycle at roughly the same time. This allows you to harvest everything, add fresh compost, and then turn over the bed completely for the next season’s planting.
- Exception: Interplanting is fine for a fall garden where the entire bed will be killed simultaneously by the first hard frost.
- Dedicate Space: Give long-lived plants like kale or perennial herbs their own dedicated, isolated beds.
Instead, plant beds with similar harvest timing:
- Lettuce + onions share a similar finish date
- Fall tomatoes + peppers + basil will all die at first frost
- Kale grows nearly year-round — give it its own dedicated bed
This avoids wasted space and makes bed turnover simple.
4-5. Two Game-Changing Tips for Your Raised Bed Garden
These aren’t mistakes, but additions I wish I had implemented from day one!
4. Install Semi-Permanent Drip Irrigation
Instead of snaking drip lines through rows for every new crop (which is annoying and time-consuming), install a semi-permanent grid. I now use six lanes of drip line with 6-inch emitter spacing in my beds. This provides adequate coverage for almost anything I plant, eliminating the need to pull up and re-lay the irrigation every few months.
5. Add PVC Hoops for Microclimates
Building simple, inexpensive PVC hoops on all your beds is a massive game-changer for production. You can use seasonally appropriate covers to create a microclimate:
- Summer: Shade cloth to protect from intense heat.
- Shoulder Seasons: Insect netting to protect from pests.
- Winter: Agricultural fabric row cover to protect from hard frosts.
By incorporating these lessons, you can avoid the years of backtracking and extra work I’ve endured. Build less, but build right the first time!
Conclusion
A raised bed garden is an amazing investment — but only if you set it up correctly the first time. Build deeper beds, leave wider aisles, and plant crops with matching harvest times. Add hoops and drip irrigation, and you’ll have a garden that’s productive, protected, and easy to manage for years.
Recommended Resources:
- USDA – Raised Beds & Container Gardening
- Rodale Institute – How to Build a Raised Garden Bed
- Gardener’s Supply – Drip irrigation system
What is the ideal depth for a raised bed garden?
Most gardeners get the best results with 18–24 inches of soil depth. This provides enough room for roots, nutrients, and moisture without hitting poor native soil.
Can I build raised beds 12 inches deep?
Yes, but they may struggle with large plants like tomatoes, peppers, or squash. Smaller crops like lettuce and herbs will be fine.
How wide should aisles be between raised garden beds?
Aim for at least 36 inches. This allows you to move carts, tools, and wheelbarrows easily without getting stuck.
Should I mix multiple crops in one raised bed?
Only if they have similar maturity dates. Otherwise, some plants will finish months before others, leaving wasted space.
How do PVC hoops help raised bed gardens?
Hoops allow you to add seasonal covers for shade, frost protection, and insect control increasing yield and extending your growing season.
Is drip irrigation worth installing?
Yes. It saves time, reduces water waste, keeps leaves dry, and improves plant health. Permanent drip lines are easier than moving hoses every season.
3 Comments
Pingback: 10 Magical Christmas Garden Decoration Ideas for 2025
Pingback: Spring Gardening Checklist USA: Easy Steps for Healthy Garden
Pingback: Raised Bed Garden Mistakes: Easy Fixes That Save Vegetables